Why DIY Backyard Bars Are a Game-Changer
There’s something special about enjoying a refreshing drink in the comfort of your own backyard. Whether it’s a summer barbecue, a casual weekend gathering, or an evening of relaxation under the stars, DIY backyard bars provide the perfect space for entertaining friends and family.
Creating a DIY backyard bar allows you to customize your outdoor entertainment area, save money compared to buying a pre-built bar, and infuse your personality into the design. Whether you envision a rustic tiki bar, a sleek modern setup, or a classic wooden pub-style bar, the possibilities are endless.
This in-depth guide will cover:
- The benefits of building a DIY backyard bar
- Essential planning and design considerations
- Step-by-step construction guides for different bar styles
- Decorating and furnishing tips
- Adding lighting, storage, and functional features
- Tips for maintenance and weatherproofing
If you’re ready to elevate your backyard into an entertainment paradise, this guide will help you build the perfect DIY backyard bar that reflects your style and enhances your outdoor space.
Everything You Need to Know About DIY Backyard Bars
1. Benefits of DIY Backyard Bars
Before diving into the building process, let’s explore why a DIY backyard bar is a worthwhile investment:
a. Customization and Personalization
- You can choose the design, size, and materials to match your backyard’s aesthetic.
- Add features like built-in shelves, mini fridges, wine racks, and decorative lighting.
- Personalize with family name signs, logos, or a signature cocktail menu.
b. Cost Savings
- Pre-built outdoor bars can be expensive, often costing thousands of dollars.
- With a DIY approach, you control the budget by choosing affordable materials.
- Repurposing materials like pallets, reclaimed wood, and old cabinets can significantly cut costs.
c. Great for Entertaining
- A backyard bar enhances social gatherings, barbecues, and parties.
- You can create a dedicated space for drinks and snacks, keeping guests comfortable.
- Makes outdoor cooking and grilling events even more enjoyable.
d. Adds Value to Your Home
- A well-designed backyard bar can boost property value.
- It enhances curb appeal and functionality, making your outdoor space more attractive to potential buyers.
2. Planning and Designing Your DIY Backyard Bar
Before picking up tools, you’ll need a solid plan. Here’s how to get started:
a. Choose the Right Location
- Consider a shaded area to protect guests from the sun.
- Position the bar near a patio, deck, or poolside for convenience.
- Ensure easy access to power outlets if you plan to add a mini fridge, lights, or a blender.
b. Determine the Bar Size
- A small bar (4-6 feet long) is ideal for intimate settings.
- A medium-sized bar (6-8 feet long) suits larger gatherings.
- A large bar (10+ feet long) is great for serious entertainers.
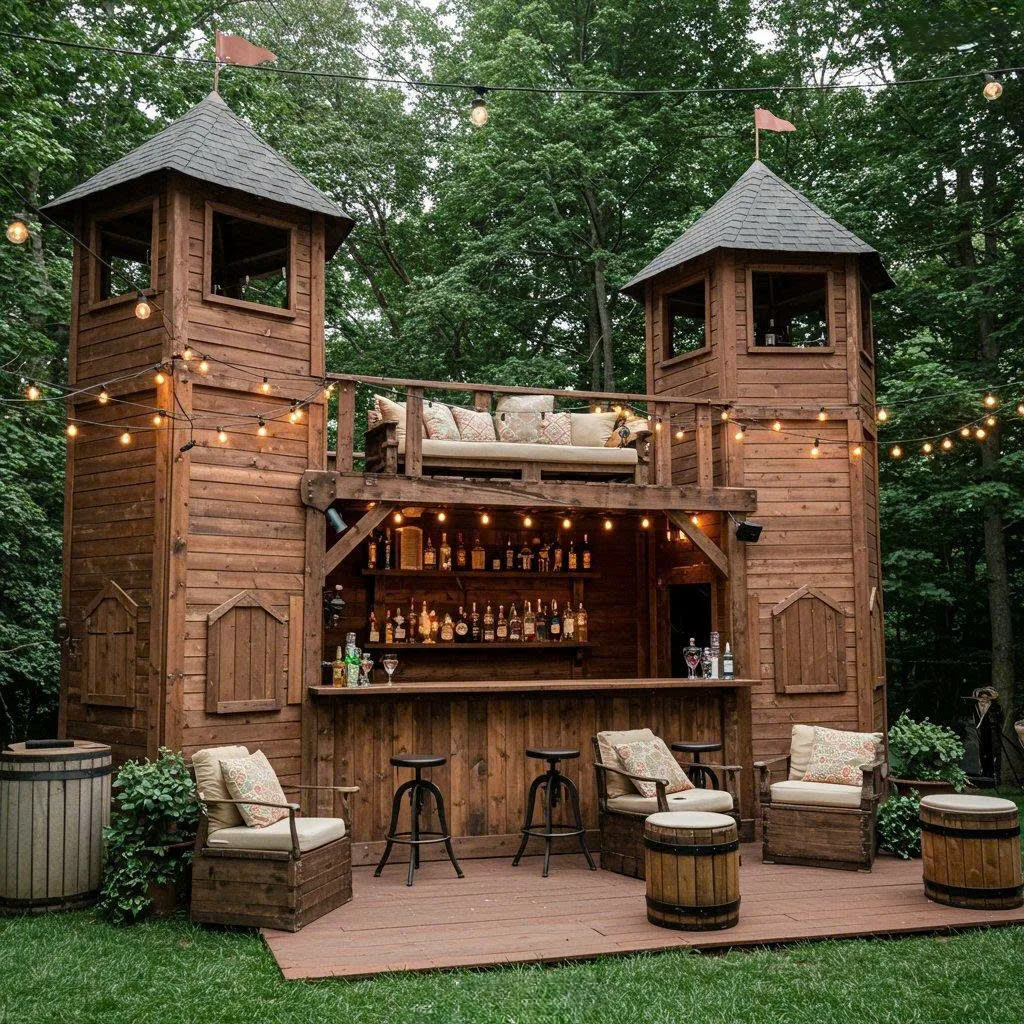
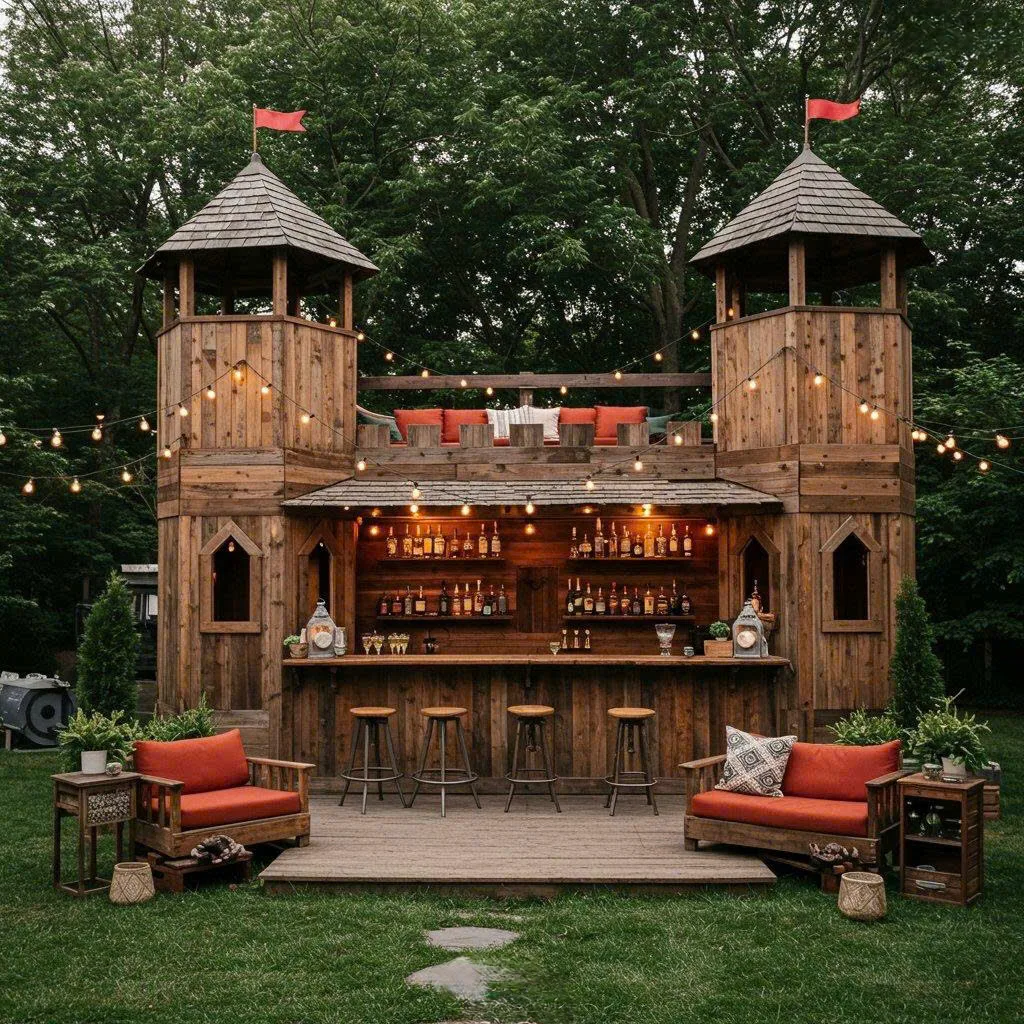
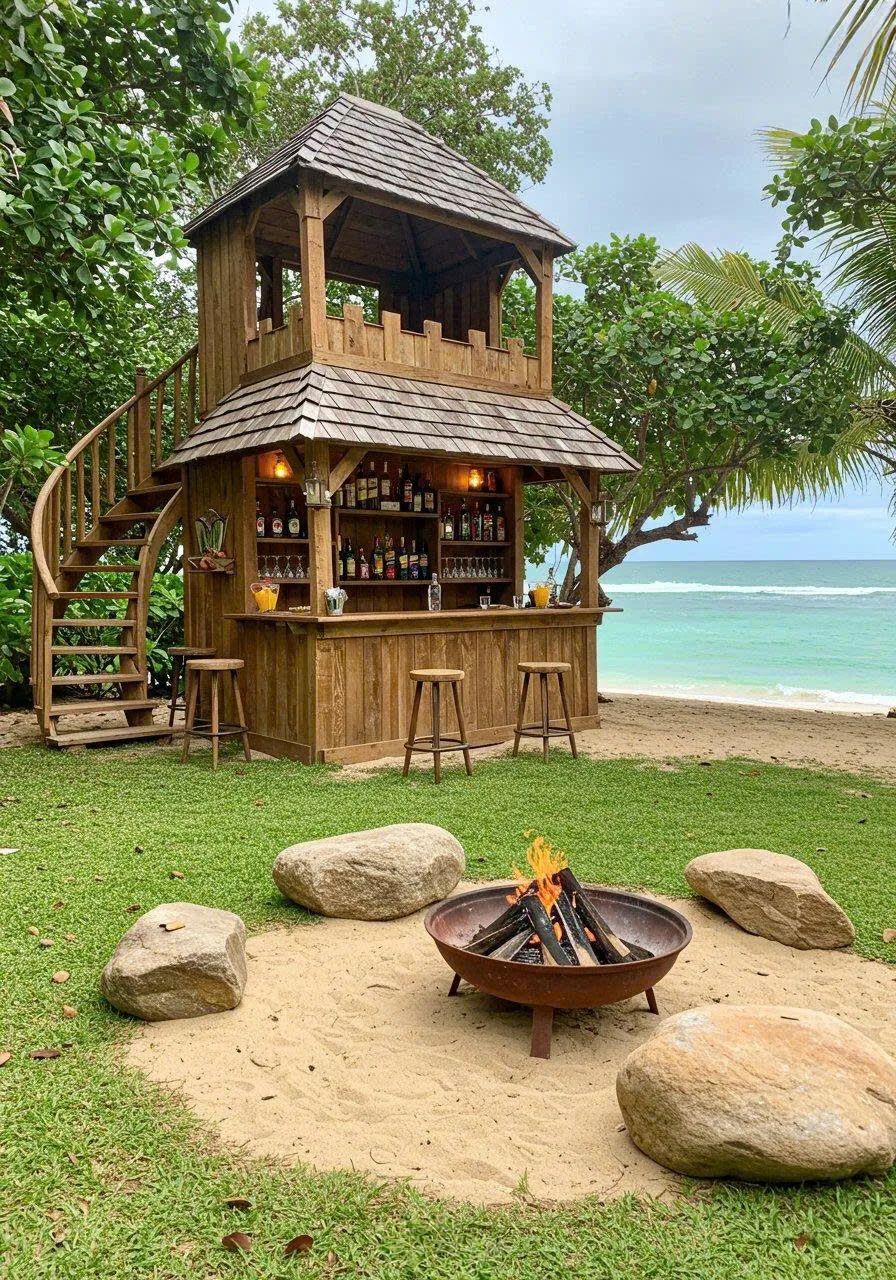
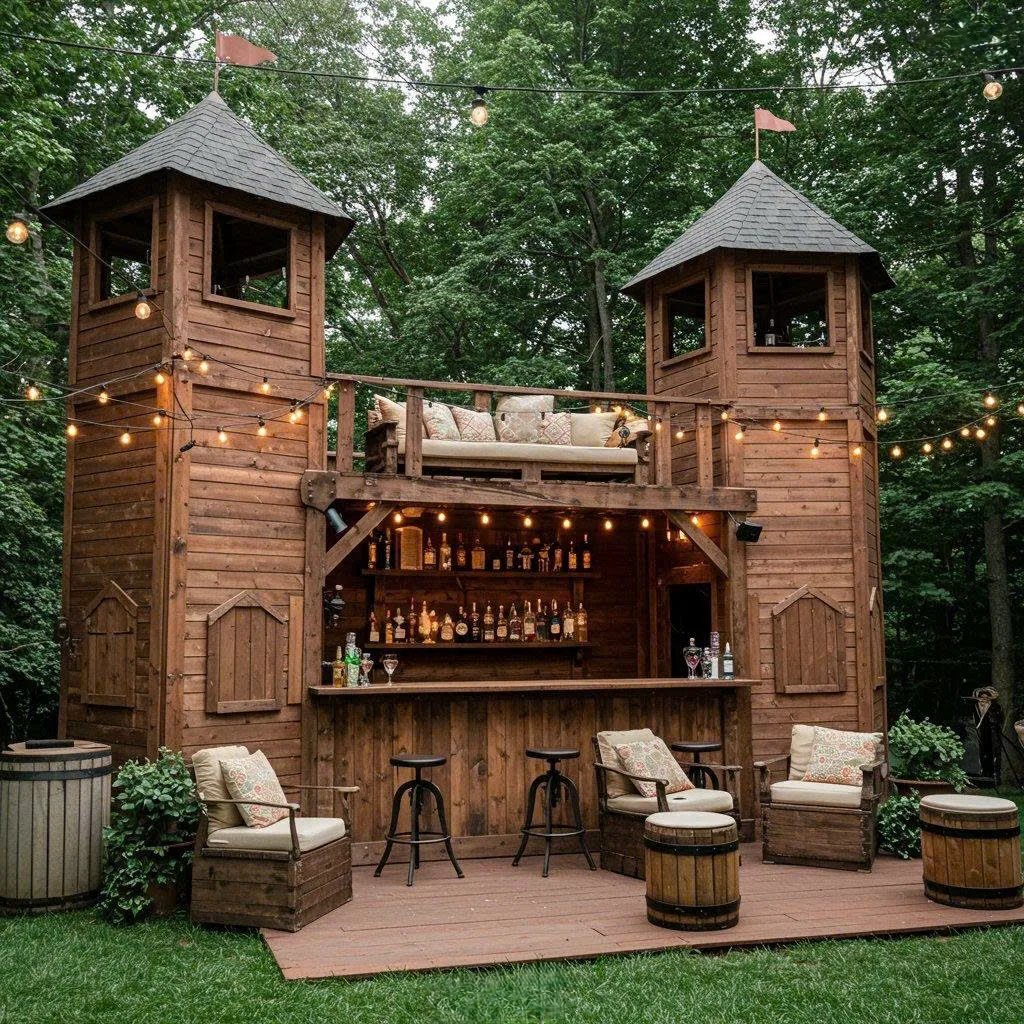
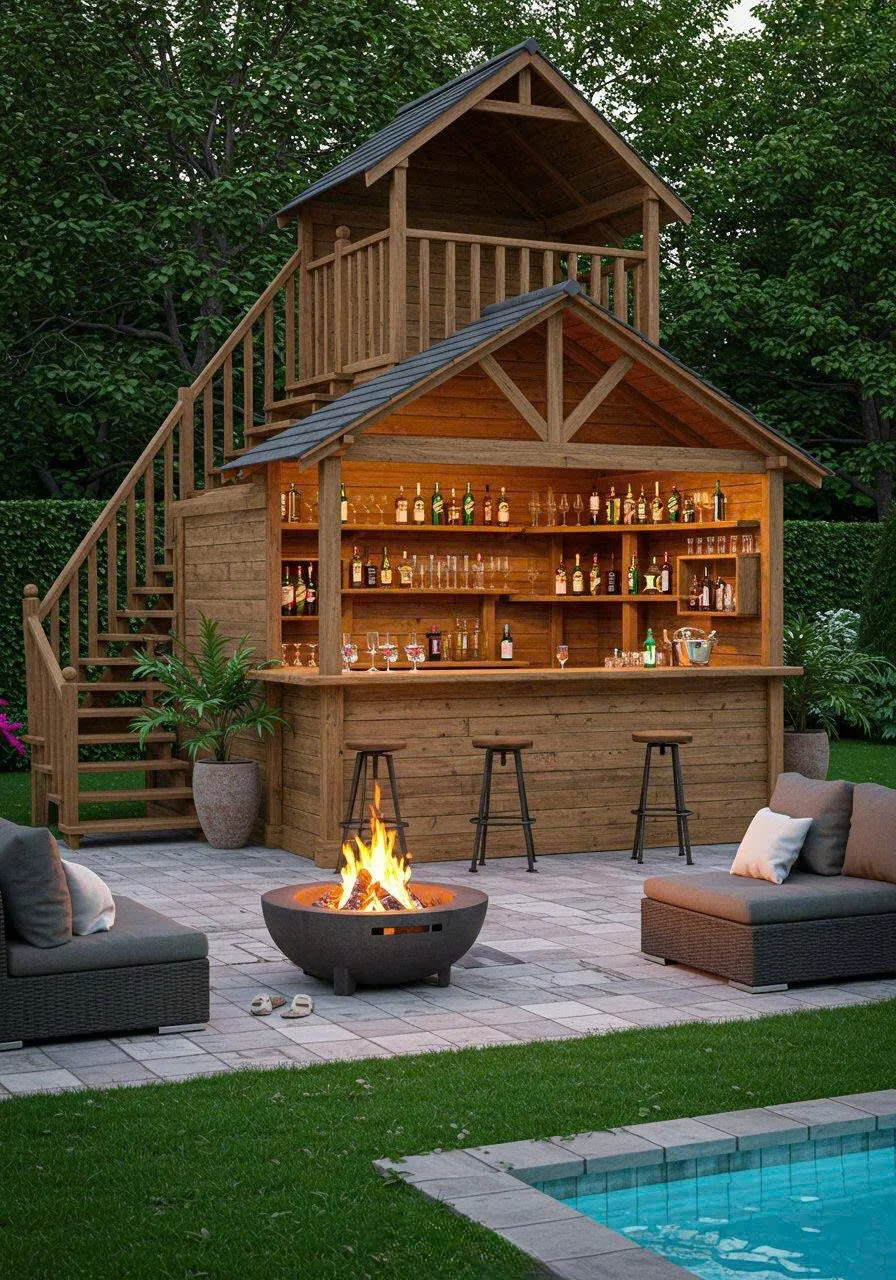
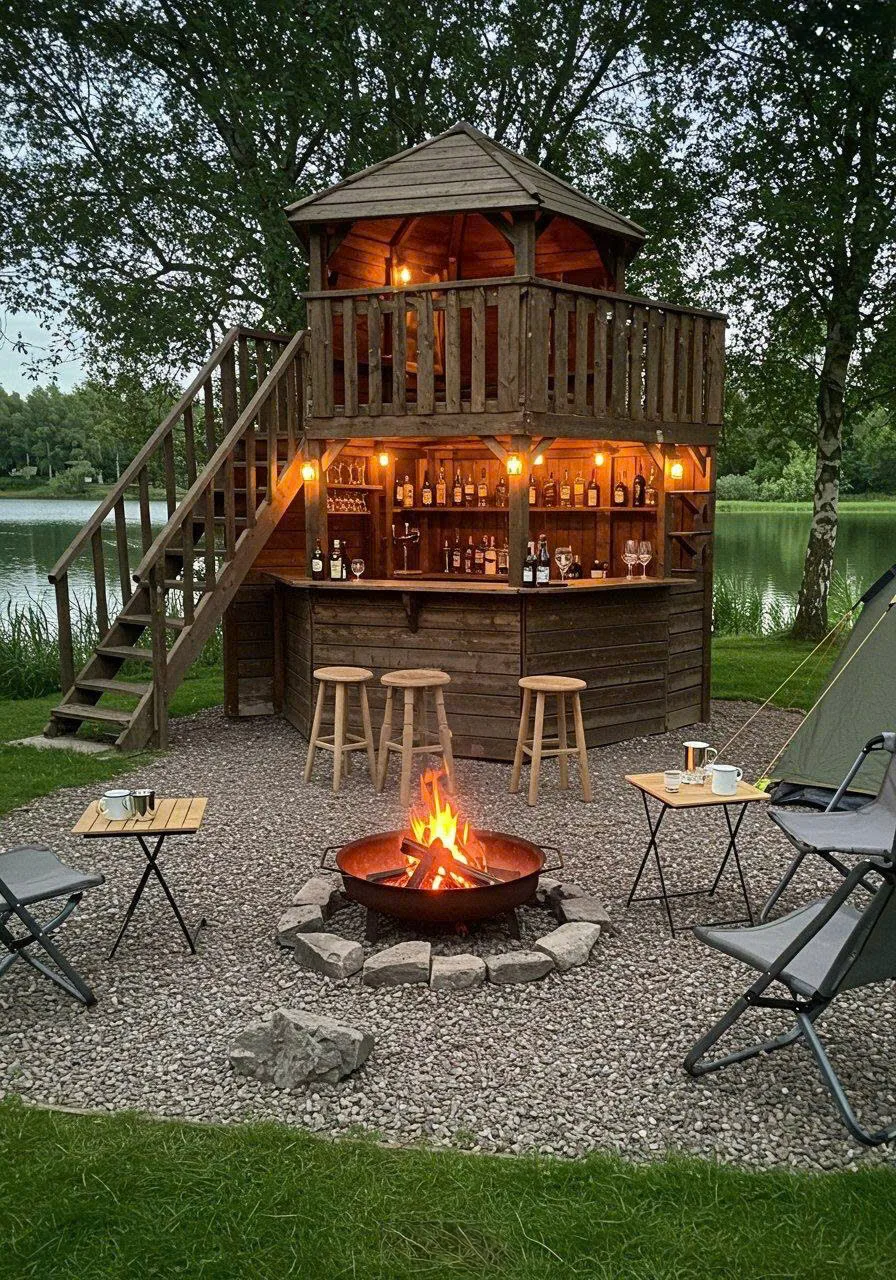
c. Select a Bar Style
- Rustic Wood Bar – Made from pallet wood, reclaimed lumber, or cedar for a farmhouse feel.
- Tiki Bar – Features bamboo, thatch roofs, and tropical decor for a beach vibe.
- Modern Industrial Bar – Uses metal, glass, and concrete for a sleek look.
- Portable Cart Bar – A movable bar on wheels for flexibility.
d. Gather Your Materials and Tools
Common materials include:
- Wood (pallets, plywood, cedar, or reclaimed wood)
- Concrete or stone for countertops
- Metal brackets and screws
- Outdoor-friendly paints or stains
- Waterproof sealant for weather resistance
Tools you may need:
- Power drill
- Saw (circular saw or handsaw)
- Measuring tape
- Level
- Hammer and nails
3. Step-by-Step DIY Backyard Bar Construction
Now that you’ve planned your DIY backyard bar, it’s time to build!
a. Building a Basic Wooden Backyard Bar
Step 1: Build the Frame
- Cut and assemble four vertical wooden posts for the bar’s frame.
- Attach horizontal support beams to create a sturdy rectangular structure.
Step 2: Add the Bar Top
- Secure a wooden countertop (or concrete slab) onto the frame.
- Smooth the edges and apply stain, varnish, or paint for protection.
Step 3: Install the Front and Side Panels
- Use wood planks, pallets, or metal sheets to enclose the front and sides.
- Secure them with screws and reinforce the corners.
Step 4: Add Shelving and Storage
- Install shelves behind the bar for drinks, glasses, and utensils.
- Consider a built-in wine rack or cooler space.
Step 5: Weatherproof and Finish
- Apply outdoor wood sealant to protect against rain and sun.
- Add decorative elements like LED strip lights, signage, or bar stools.
b. Creating a DIY Tiki Bar
For a tropical backyard retreat, build a DIY tiki bar:
- Use bamboo poles or wooden planks for the structure.
- Install a thatch roof using palm leaves or artificial thatch.
- Decorate with string lights, tiki masks, and tropical-themed stools.
- Add a small sink or ice bucket section for keeping drinks cool.
4. Decorating and Furnishing Your Backyard Bar
Once your DIY backyard bar is built, it’s time to decorate!
a. Seating and Bar Stools
- Use wooden stools for a rustic look or wicker chairs for a tropical theme.
- If space allows, add a lounge area with outdoor sofas.
b. Lighting for Ambience
- String fairy lights, LED strips, or Edison bulbs to set the mood.
- Use solar-powered lanterns for an eco-friendly option.
- Under-counter lighting adds a modern touch.
c. Functional Accessories
- Install a mini fridge or beverage cooler.
- Add a bar sink if plumbing is available.
- Keep a drink menu chalkboard for a fun touch.
5. Maintenance and Weatherproofing Your Backyard Bar
To keep your DIY backyard bar in great shape:
- Apply a waterproof sealant to wood surfaces.
- Use outdoor-rated materials to withstand weather conditions.
- Cover the bar with a tarp or awning during winter months.
- Regularly clean countertops and shelving to prevent mold and wear.
Your DIY Backyard Bar Awaits!
A DIY backyard bar is the perfect way to enhance your outdoor space, entertain guests, and enjoy relaxing evenings with family and friends. Whether you choose a rustic wood bar, a fun tiki bar, or a sleek modern setup, the customization options are endless.
By planning carefully, using quality materials, and adding your personal touch, you can create a functional, stylish, and budget-friendly backyard bar that becomes the heart of your outdoor entertainment area.
Are you ready to start building your dream DIY backyard bar? Grab your tools, unleash your creativity, and get started today! 🍹🏡